A lush, green lawn is the pride of many homeowners in Melbourne and across regional Victoria. But even the healthiest lawns can sometimes suffer from a hidden problem: thatch. Understanding what thatch is, why it's an issue, and how to effectively remove it is crucial for maintaining vibrant and thriving turf.
What exactly is lawn thatch?
Lawn thatch refers to the layer of dead and living organic matter—including grass stems, roots, and clippings—that accumulates between the green blades of your lawn and the soil surface.
This accumulation is a natural process; as grass grows, older plant material dies and settles down. Microorganisms in the soil typically break down this organic matter, recycling nutrients back into the soil.
While a thin layer (around 1 to 1.5cm or less) can actually be beneficial, acting as a natural mulch that conserves moisture, insulates the soil, and protects grass crowns, it becomes problematic when it gets too thick.
Why is too much thatch a problem?
When thatch accumulates to an excessive thickness, it can severely hinder your lawn's health and appearance:
Restricts Air, Water, and Nutrient Flow: A dense thatch layer acts like a barrier, preventing essential air, water, and nutrients from reaching the soil and grass roots. This suffocates the turf and starves it of vital resources.
Encourages Pests and Diseases: Thick thatch provides an ideal environment for common lawn pests, such as grubs (like curl grubs), and fungal diseases (like brown patch) to flourish, as it retains moisture and creates a humid, sheltered space.
Impairs Root Growth: Roots tend to grow within the thatch layer rather than deep into the soil. This makes the lawn less resilient to drought and temperature fluctuations, as it can't access deeper moisture or nutrients.
Reduces Herbicide Effectiveness: Herbicides applied to the lawn can get trapped in a thick thatch layer, preventing them from reaching the weeds in the soil.
Makes Mowing Difficult: A spongy, uneven thatch layer can make mowing challenging, leading to an inconsistent cut and scalping.
Reduces Drought Tolerance: As roots stay shallow, the lawn becomes highly susceptible to drying out quickly during warm periods, especially during warmer Victorian summers.
The ultimate goal of dethatching is to restore your lawn to a healthy, dense, and vibrant green state, allowing it to thrive.
Does your lawn need dethatching?
Not all lawns need dethatching, and it’s important to assess yours properly before taking action. Here are some methods that you can use to assess excessive thatch buildup:
The ‘Spongy’ Feeling: Walk across your lawn. If it feels unusually soft, springy, or spongy underfoot, almost like walking on a thick mat, this can be a strong indicator of a significant thatch buildup.
The Screwdriver Test: This is a reliable, step-by-step method to check your thatch layer:
Find an area of your lawn that appears problematic
Push a screwdriver or a trowel handle firmly into the lawn until it reaches the soil.
Carefully pull the screwdriver out.
Examine the side of the screwdriver. If you see a distinct layer of brown, fibrous, spongy material between the green grass and the soil, that's thatch. If this layer is thicker than about 1.25 cm, it indicates a problematic thatch layer that needs attention. A healthy soil profile will show green grass blades transitioning directly into dark soil with minimal fibrous buildup.
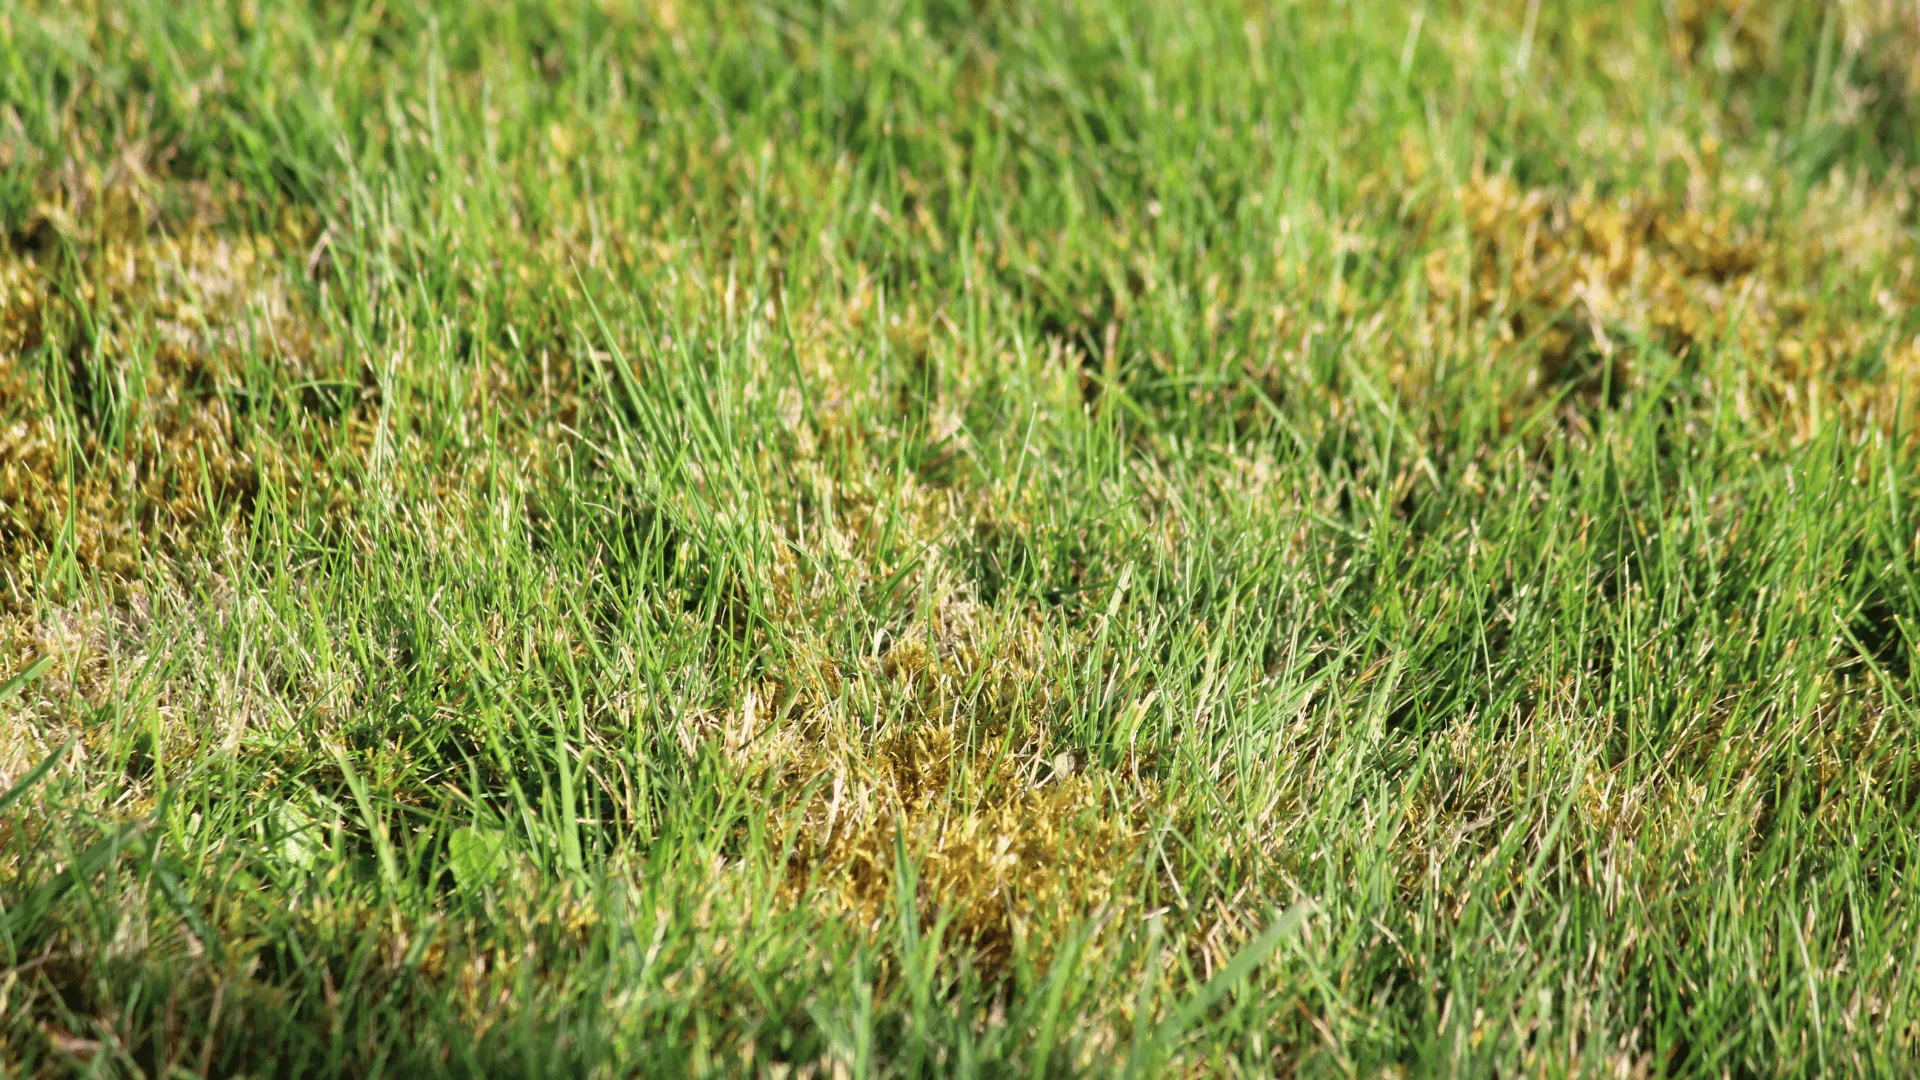
Visual Indicators: Examine the base of the grass blades. If you notice a thick, brownish, matted layer of dead grass stems and roots accumulating at the very bottom of the green blades, this is visual evidence of excessive thatch.
Physical Examination and Measurement: Physically dig up a small plug of your lawn (around 8-10 cm deep). Gently pull apart the grass and soil. Measure the thickness of the dense, fibrous layer that sits above the soil but below the green grass. A thickness of over 1.25 cm should trigger concern and consideration for dethatching.
When is the best time to dethatch your lawn?
Timing is critical for successful dethatching, as your lawn needs to recover quickly. The ideal window focuses on periods of active growth:
The best time for dethatching these grasses is late spring to early summer (typically late September through November) after the lawn has fully emerged from winter dormancy and is actively growing. This allows it to quickly fill in any thin spots created by the dethatching process.
Dethatch cool-season grasses in early autumn (March to April). This allows them to recover during the cooler, moist conditions before winter sets in.
Specific Considerations for Dethatching Buffalo Grass
Buffalo grass is known for its dense growth, which can sometimes lead to thatch buildup. When dethatching Buffalo:
Ensure it is vigorously growing.
Use a less aggressive setting on powered dethatchers (you can hire a lawn dethatcher from your local equipment hire branch or hardware store) or a lighter hand with a manual rake to avoid excessive damage, as Buffalo recovers primarily through its stolons (above-ground runners). Over-dethatching can severely damage it.
When to Avoid Dethatching
Dethatching at the wrong time can cause significant stress or even kill your lawn. Times to avoid dethatching include:
During winter dormancy, when the grass is brown and not actively growing.
If your lawn already shows signs of disease, pest infestation, or nutrient deficiency, address these issues before dethatching.
During periods of extreme heat or drought, the combined stress can severely damage or kill the lawn.
How to Dethatch Your Lawn: A Simple Step by Step Guide
Once you've determined your lawn needs dethatching and identified the best time, follow these steps:
1. Choose the main dethatching tool you will use:
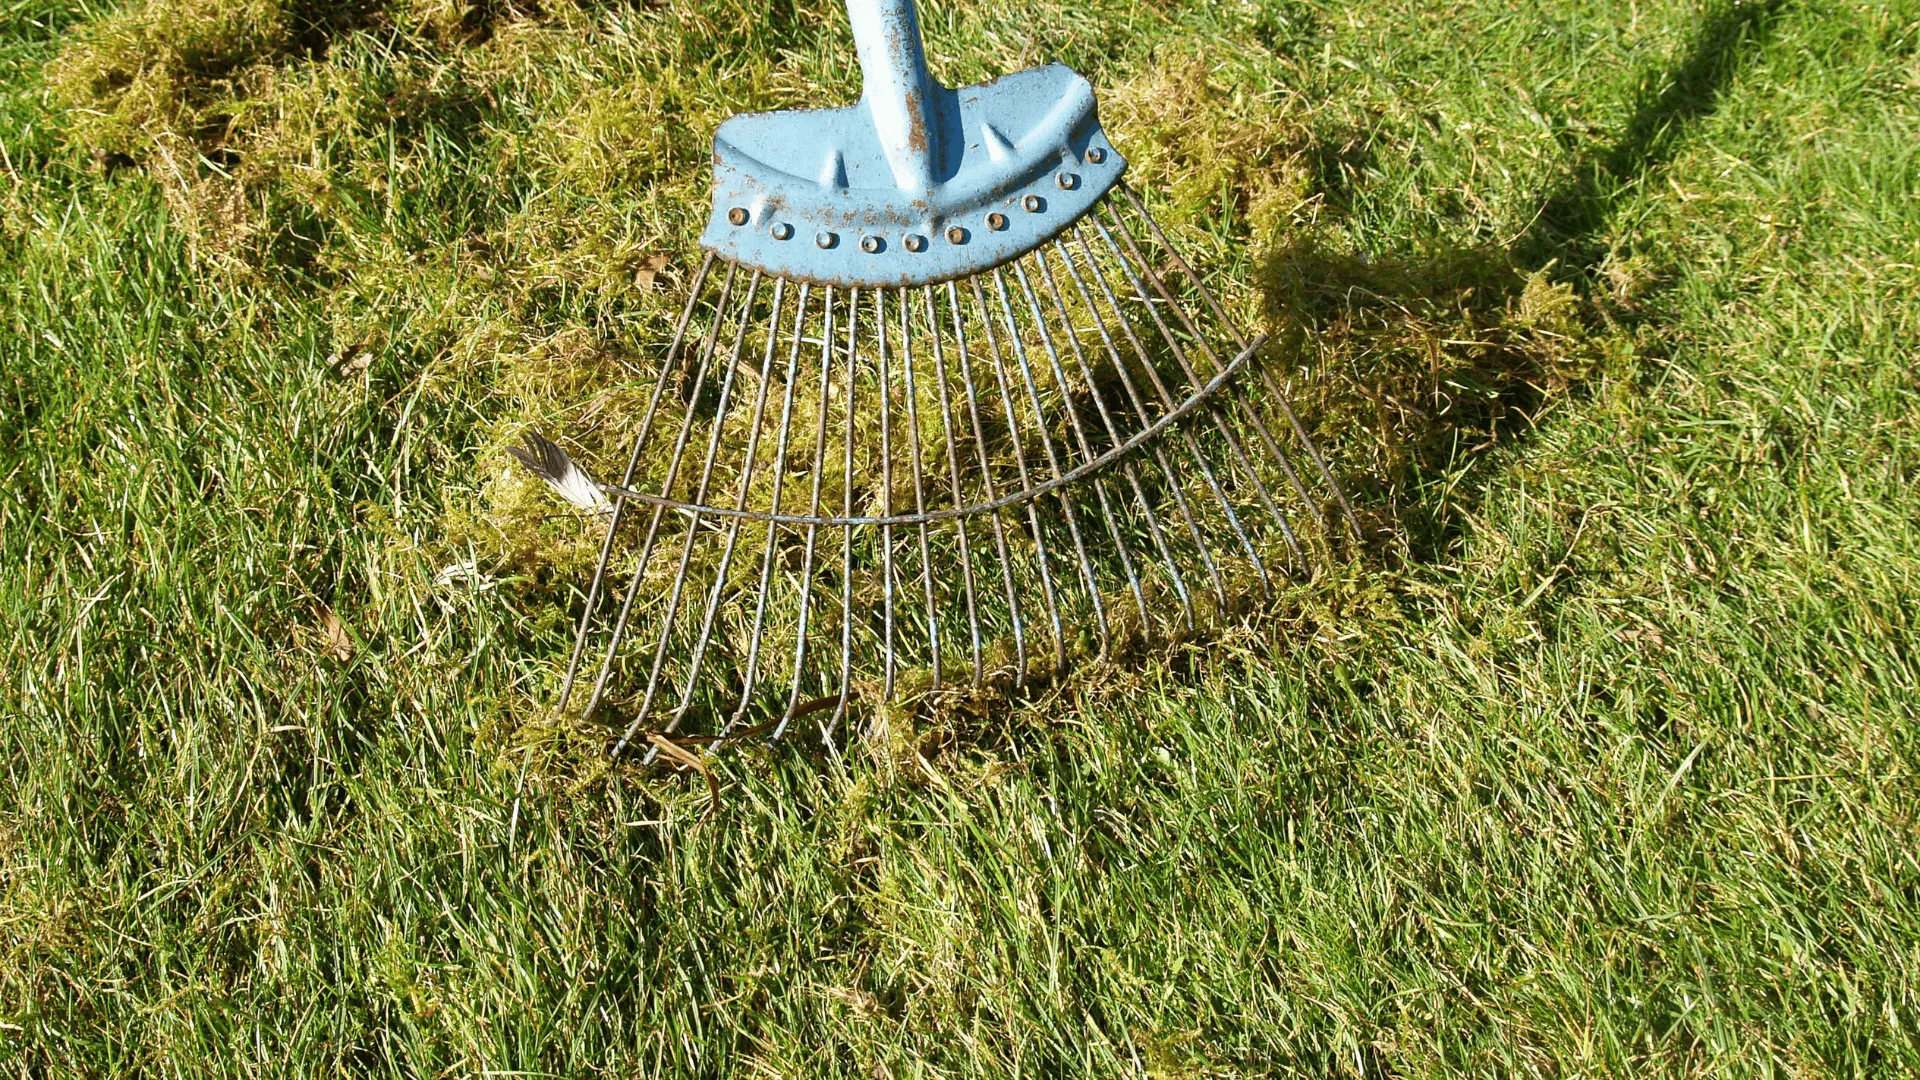
Manual Dethatching Rake: This tool is suitable for smaller lawn areas or for addressing lighter thatch. It requires significant manual effort.
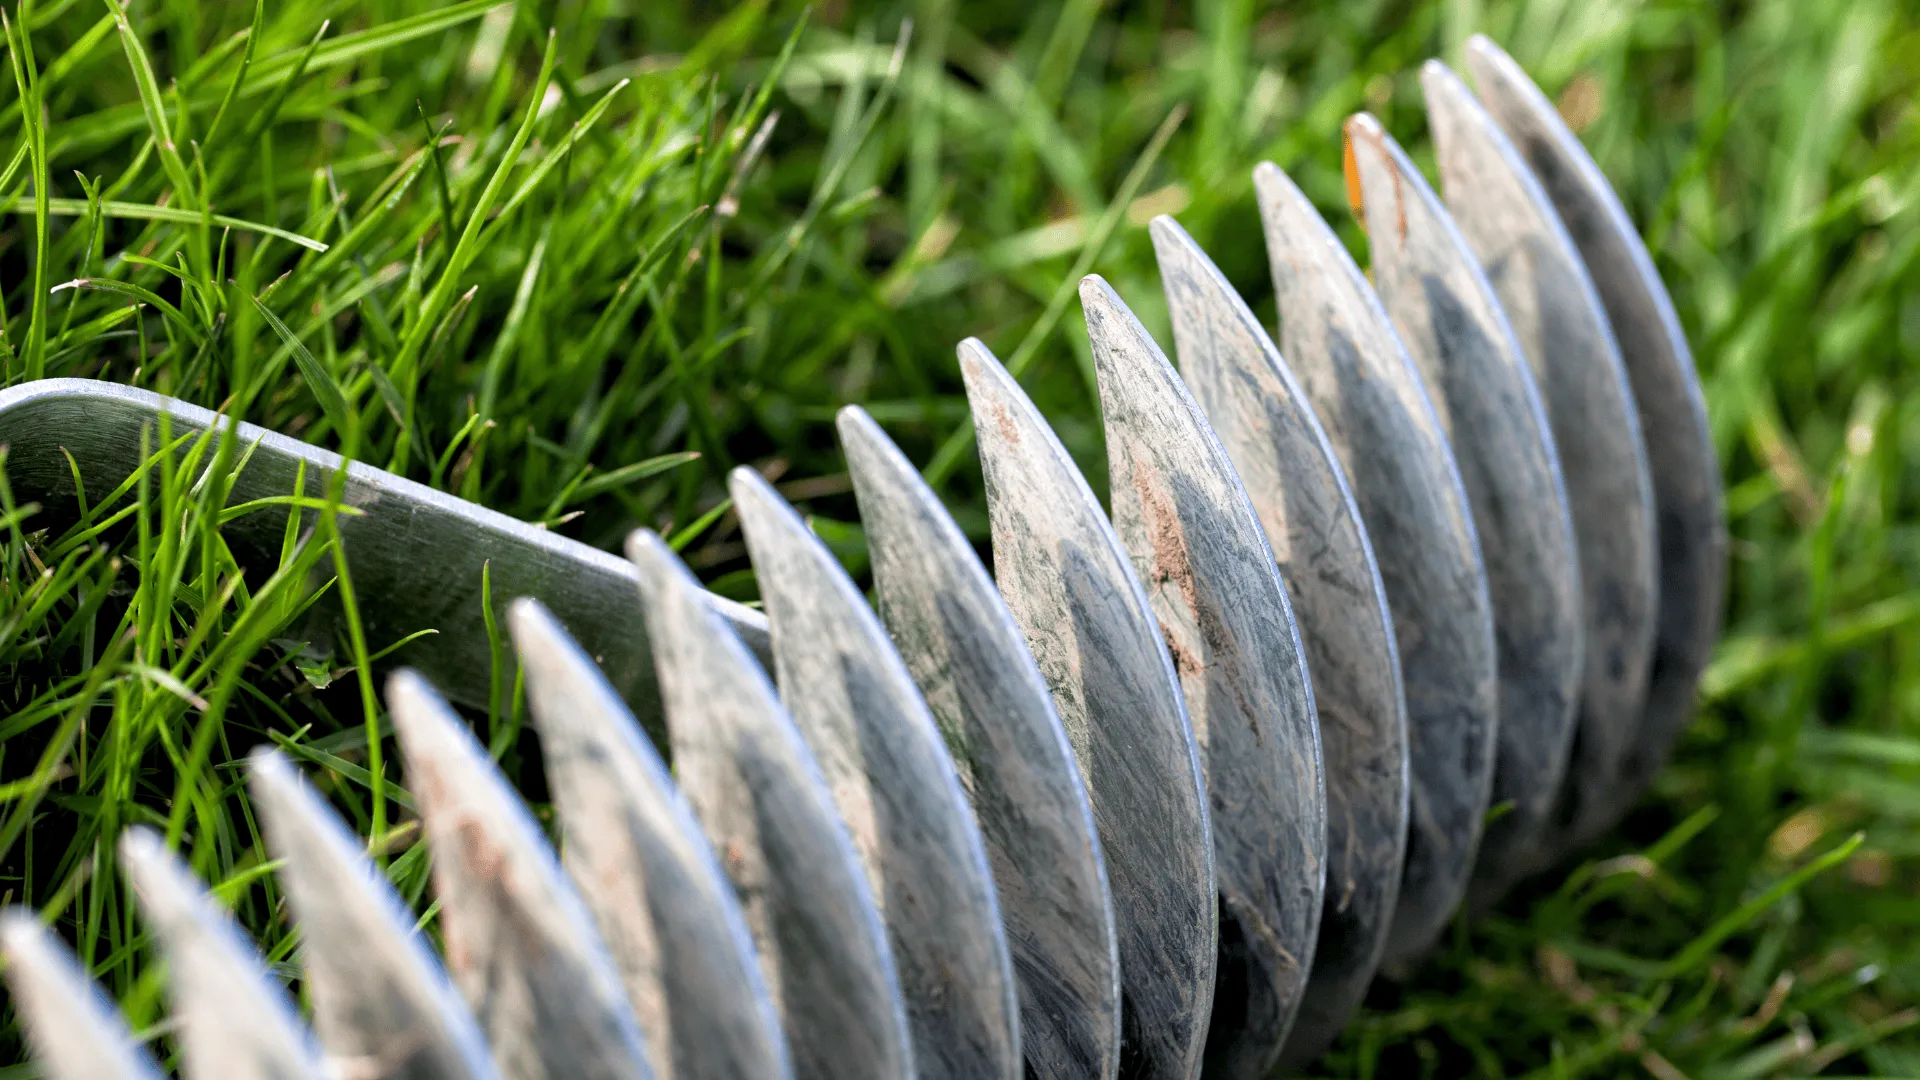
Powered Dethatcher: These machines are much more efficient for larger areas or thicker thatch layers. They have vertical blades that cut into the thatch and pull it to the surface.
2. Preparation (Mow Your Lawn):
Before you begin dethatching, mow your lawn at least one or two settings lower than your usual height. This will help the dethatching equipment reach the thatch layer more effectively. Ensure the lawn is dry.
3. Commence Dethatching:
Manual Rake: Drag the dethatching rake across your lawn with firm, short strokes, pulling the thatch up and out.
Powered Dethatcher: Set the blades to just penetrate the thatch layer (avoid going too deep into the soil). Make your first pass over the entire lawn in one direction (e.g., north to south). For thicker thatch, a second pass at a 90-degree angle (e.g., east to west) can be beneficial for a more thorough job. Overlapping each pass slightly will ensure even coverage.
4. Thorough Cleanup:
Dethatching will pull a surprising amount of dead material to the surface. It is essential to remove all loosened thatch debris from the lawn surface completely. You can use a leaf rake, a bagger attachment on your mower, or even a leaf blower to gather the debris.
A final mow with your lawnmower's catcher attached is a helpful tip for collecting any finer particles or remaining loose thatch, leaving your lawn clean.
After Dethatching Care
Immediate and proper aftercare is vital for your lawn's rapid recovery and renewed health:
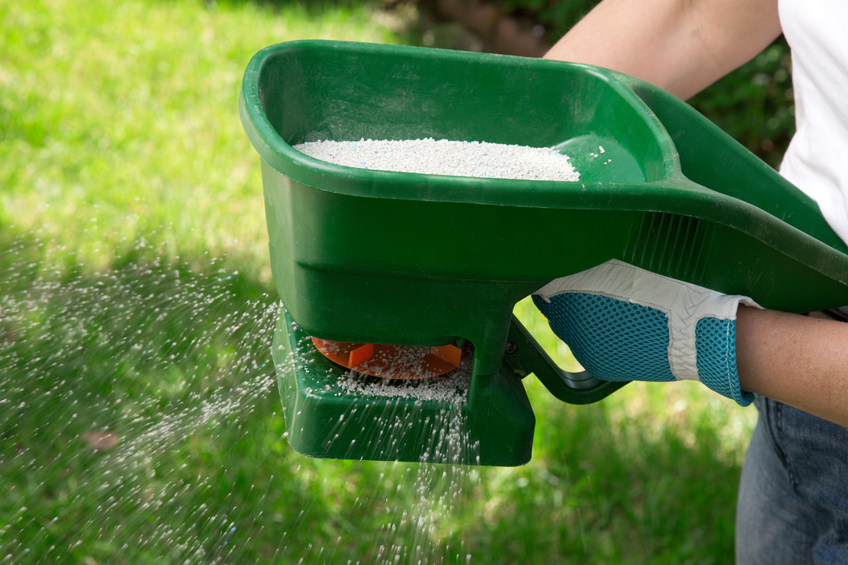
Water your lawn thoroughly immediately after dethatching and clearing all debris. This helps rehydrate the remaining grass and settle the soil, reducing stress.
Within a few days, apply a quality lawn fertiliser to encourage new growth and aid in recovery. A balanced formula with slightly higher nitrogen is generally best.
Be prepared for your lawn to look sparse or stressed immediately after dethatching; this is entirely normal as it needs time to recover.
With proper watering and fertilisation, your lawn will typically begin to show signs of recovery within a few weeks, aiming for full density in 4-8 weeks.
Ready to give your lawn the best chance to thrive? For expert advice, contact the team at HG Turf Group today.
.webp)


.webp)